
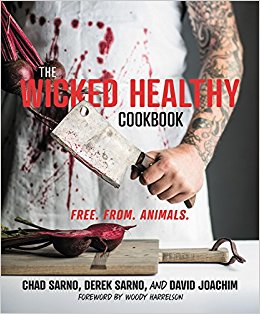
THE WICKED HEALTHY COOKBOOK: Free. From. Animals.
Chad Sarno, Derek Sarno, Dave Joachim Eva Kosmas Flores
Grand Central
May 8, 2018
$29.09/Hardcover
ISBN-13: 978-1455570287
Chad Sarno, Derek Sarno, Dave Joachim Eva Kosmas Flores
Grand Central
May 8, 2018
$29.09/Hardcover
ISBN-13: 978-1455570287
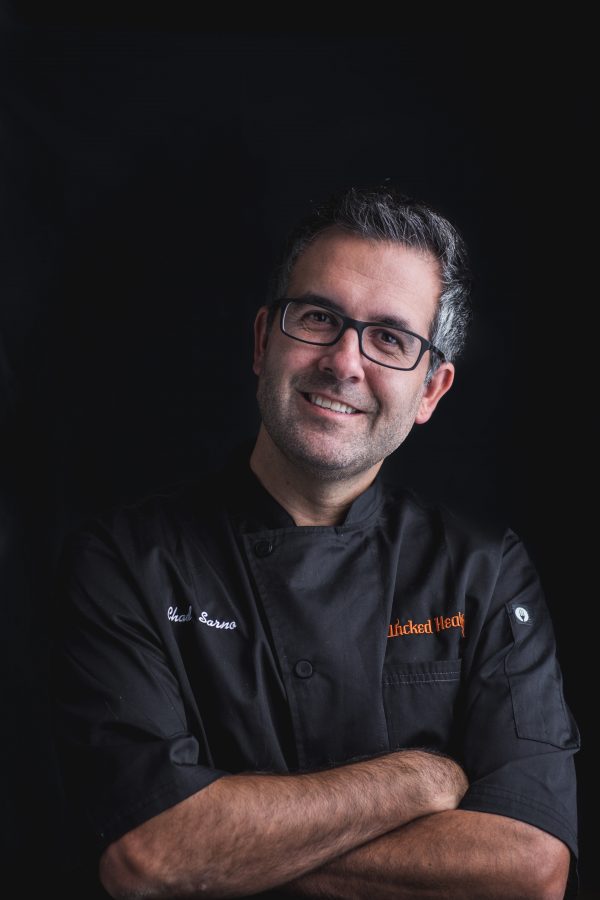
CHAD SARNO is Vice President of Culinary at Good Catch Foods and cofounder of the Wicked Kitchen line of foods in Tesco. Chad also is an ambassador for Rouxbe, the world’s largest online cooking school, where he launched the Professional Plant-Based Certification course. He spent several years at Whole Foods Market as Senior Culinary Educator and media spokesperson for the Global Healthy Eating program. Before that, Chad launched a line of boutique restaurants in Istanbul, Munich, and London. He has been a contributing author to more than a dozen cookbooks, and if not in the kitchen he’s getting lost in his gardens.
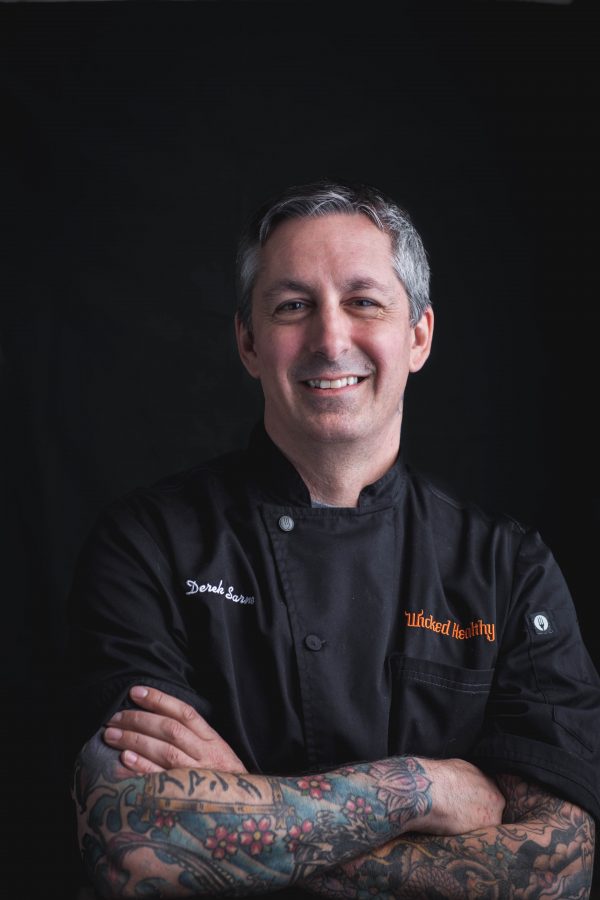
DEREK SARNO is the Executive Chef and Director of Plant-Based Innovation for Tesco, the third-largest food retailer in the world. Derek is cofounder of the Wicked Kitchen line of foods in Tesco and cofounder of Good Catch Foods. He is also the former Senior Global Executive Chef at Whole Foods Market, where he catered all the company’s major executive leadership events and oversaw national recipe development. After culinary school, Derek owned several critically acclaimed restaurants and catering businesses. He spent a few years farming and spent some quality time learning to meditate and cook a variety of foods at a Tibetan Buddhist monastery. Derek has always loved to train squirrels in the ways of the ninja.
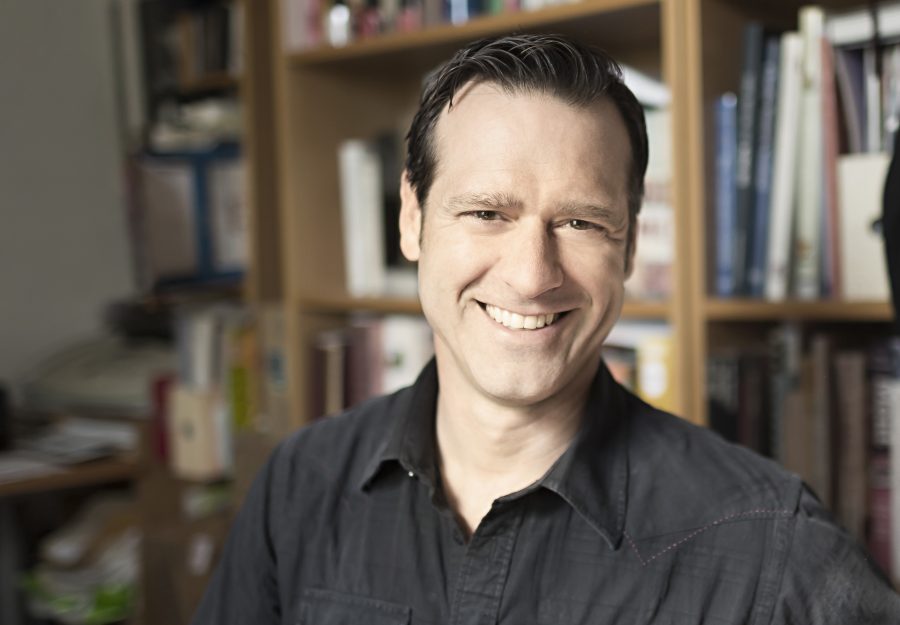
DAVID JOACHIM has authored, co-authored, or collaborated on more than forty cookbooks, including several award winners and bestsellers such as The Food Substitutions Bible and A Man, a Can, a Plan, a series of healthy cookbooks that has sold more than 1 million copies. He has been developing recipes for Whole Foods Market magazine since 2011 and co-writes a long-running column on food science in Fine Cooking magazine. He is the cofounder of Chef Salt artisan salt seasonings, and his favorite cooking tool is a leaf blower.
THE WICKED HEALTHY COOKBOOK takes badass plant-based cooking to a whole new level. The chefs have pioneered innovative cooking techniques such as pressing and searing mushrooms until they reach a rich and delicious meat-like consistency. Inside, you’ll find informative sidebars and must-have tips on everything from oil-free and gluten-free cooking (if you’re into that) to organizing an efficient kitchen.
Celebrating the central role of crave-able food for our health and vitality, Chad and Derek give readers 129 recipes for everyday meals and dinner parties alike, and they also show us how to kick back and indulge now and then. Their drool-inducing recipes include Sloppy BBQ Jackfruit Sliders with Slaw, and Grilled Peaches with Vanilla Spiced Gelato and Mango Sriracha Caramel. They believe that if you shoot for 80% healthy and 20% wicked, you’ll be 100% sexy: That’s the Wicked Healthy way.
KING OYSTER SCALLOPS with SHAVED ASPARAGUS and CORONA BUTTER
Serves 6 as a plated starter
The technique of pan-searing while basting with butter creates a rich, golden crust on mushrooms. It works great on crosscut slices of king oyster mushrooms, which have thick, firm stems and relatively small caps. It’s even better when you simmer king oyster “scallops” with sea vegetables and miso in a dashi-style broth to amp up their savory umami taste before pan-searing. With a creamy puree of Corona beans and some shaved asparagus, the seared scallops make a sexy plated appetizer. Make the Corona butter a few days ahead of time and keep it in the fridge. —Chad
INGREDIENTS
KING OYSTER SCALLOPS
TAMARI BUTTER
SEARED SCALLOPS
SHAVED ASPARAGUS GARNISH
METHOD
For the king oyster scallops: To make a broth, combine the water, tamari, ginger, halved garlic, kombu, and miso in a medium saucepan. Bring to a simmer over medium heat, then simmer gently for 10 minutes to allow the flavors to blend. Taste the broth. It should have a slightly salty, slightly savory flavor. If it tastes under-seasoned, add a bit more miso.
Meanwhile, remove the mushroom stems from the caps. You’ll be using only the stems, so keep the caps for another use (see Pro Tips for ideas). Slice the stems crosswise into coins about 1 inch thick. The shapes will resemble scallops. You should get 3 or 4 scallops from each stem.
Drop the scallops into the broth and simmer very gently until they absorb the flavors, 15 to 20 minutes. Use immediately or chill in the fridge in the braising liquid for up to 1 day.
FOR THE TAMARI BUTTER: Stir together the butter, tamari, and minced garlic in a small bowl.
TO SEAR THE SCALLOPS: Score the poached mushrooms with a few crosshatch cuts on each side. Heat a large heavy sauté pan (such as cast iron) over medium-high heat. Turn on a fan or open a window because pan-searing the scallops will produce some smoke. When the pan is hot, add the 2 tablespoons peanut or vegetable oil, tilting the pan to coat it evenly. Carefully place the scallops in the hot pan— tongs are helpful here. Let cook undisturbed until the scallops are nicely seared on the bottom, 2 to 3 minutes. Add dollops of the tamari butter around the pan, and tilt the pan to help it seep underneath the scallops. When it does, flip the scallops and sear the other side for 2 to 3 minutes. While searing, spoon the melted butter over the tops of the scallops. (Spooning helps to brown the scallops and keep the butter from burning on the hot pan.) Flip one or two scallops over to make sure you have a nice golden-brown sear on each side. When both sides are golden brown, remove from the heat and season with salt and pepper.
FOR THE ASPARAGUS GARNISH: Using a vegetable peeler, shave each spear of asparagus along its length. Remove all of the green peel from each spear. These are the shavings you will use. Refrigerate the remaining inner white part of the asparagus for another use (see Pro Tips).
Right before serving, bring a pot of water to a boil and set up a bowl of ice water. Drop the shaved asparagus in the boiling water and cook for 30 seconds, then transfer to the ice water to halt the cooking process.
Gently toss the shaved asparagus with the olive oil, yuzu juice, and shallots. Season lightly with salt and pepper and taste, adding more seasoning if you think it needs it.
Grab 6 small plates and swoosh a big spoonful of Corona butter on each plate.
SLOW-COOKED CORONA BEANS with ROSEMARY and LOTS of GARLIC
INGREDIENTS
METHOD
Soak the beans overnight in water to cover.
Drain the beans and place in a large heavy pot or Dutch oven. Add the remaining ingredients and bring to a boil over high heat. Reduce the heat so the liquid simmers, cover, and simmer gently until the beans are tender, about 1 hour. Test by pressing one bean on a cutting board: It should crush easily but not be mushy. (While the beans are cooking, check the liquid level now and then; you may need to add a bit more stock or water to keep the beans covered during the entire cooking time.)
Serve hot with some of the cooking liquid.
CORONA BEAN BUTTER: After cooking the beans, remove the rosemary, bay leaves, and chiles. Transfer half of the beans and their liquid to a bowl or stand blender, add 1/3 cup olive oil, and blend until very smooth. Use immediately or refrigerate for a few days, then spread anywhere just like butter. Makes about 2 cups.
PRO TIPS
CORN DUMPLINGS in COCONUT CORN BROTH
Serves 6 to 8
Dumplings are hands-down my favorite finger food. They’re also perfect as a first course in a small bath of flavorful broth. Save these dumplings for the height of summer when sweet corn is super fresh. Some fresh corn shows up in the creamy filling and some in the corn broth, which you make by simmering the corncobs in coconut milk with lemongrass and other aromatics. When you nestle the dumplings in a small bowl of broth with a few drops of chile oil and some Thai basil leaves, they make a sensual little starter. —Chad
INGREDIENTS
METHOD
To make the filling, soak the cashews in water to cover at room temperature for 2 to 3 hours. Drain and rinse. You’ll add these later to the filling.
Bring a medium pot of water to a boil. Set up a bowl of ice water. Drop the fresh or frozen corn in the boiling water and blanch for 30 seconds. Use a spider strainer to transfer the corn to the ice water. Let cool for a minute or two, then transfer 2 cups of the corn to a blender (set aside the remaining ½ cup kernels).
Add the butter to the blender and blend until smooth, 1 to 2 minutes. Add the drained cashews and garlic and blend until smooth. The puree should be nice and thick. Scrape it into a mixing bowl.
Grind the freeze-dried corn in a clean spice mill or coffee grinder to a somewhat-coarse texture, similar to cornmeal. Add to the cashew cream in the mixing bowl along with the reserved corn kernels, green onions, lemongrass, chile, salt, and pepper. Mix thoroughly.
To assemble the dumplings, set the bowl of filling, a small cup of water, your dumpling skins, and a baking sheet on a work surface. Scatter some cornstarch over the baking sheet (to help keep the dumplings from sticking to the pan).
For each dumpling, mound about a tablespoon of filling in the center. Dip your finger in the water and moisten the entire edge of the dumpling skin. For a shumai-style fold, bring all the sides up to the top and twist gently to make a small round purse. Pinch just under the top opening of the purse to gently close it. You should have enough filling to make 30 to 40 dumplings.
These dumplings are best steamed: Spray a steamer basket with oil or line with cabbage leaves or bamboo leaves to prevent sticking. Put the dumplings in the steamer in batches, place over simmering water, cover, and steam until the dumplings are tender, about 3 minutes.
Gather 6 to 8 small serving bowls and place 4 or 5 dumplings in the center of each. Pour about ¼ cup broth around the dumplings in each bowl so a little broth comes up the sides of the dumplings. Anoint each bowl with a few drops of chile oil and a couple of basil leaves (or sliced green onions).
Pro Tip
Look for freeze-dried corn in the grain aisle of your market. We’re partial to the taste and texture of Karen’s Naturals freeze-dried corn. If you can’t find it, the recipe works fine without the freeze-dried corn—it’s just a little lighter on corn flavor.
COCONUT CORN BROTH
Makes about 2 quarts
INGREDIENTS
METHOD
Snap or cut the ears of corn in half.
Bring the water to a boil in a large stockpot over high heat. Add the corn and everything else except the lime juice. Cut the heat to medium, then bring the liquid to a slow simmer. Let it simmer for 10 to 15 minutes.
Remove the corncobs and cut the kernels from the cobs (see Pro Tips). Return the naked cobs to the broth along with the lime juice. Continue simmering gently over medium heat for another 30 minutes. The liquid will reduce in volume by about one-fourth, which is fine. Shut off the heat and let everything cool down a bit in the pot. Strain the warm broth through a fine-mesh strainer into quart containers, then use immediately or refrigerate for a week or two before using.
Pro Tips
When the corn on the cob is tender, after 10 to 15 minutes of simmering, you could just take the cobs out of the broth and gnaw the corn off the cobs. But you want the naked cobs to go back in the broth for more flavor. So…if it’s all in the family and you don’t mind re-using the gnawed-down cobs, give them a quick rinse, then add them back to the broth. Or simply cut the tender kernels from the cobs as directed and serve the corn as loose kernels. You’ll get about 5 cups corn kernels. You can keep them in the fridge for a few days or cool completely and freeze them for several weeks.
Excerpted from the book THE WICKED HEALTHY COOKBOOK by Chad Sarno, Derek Sarno, and David Joachim. Copyright © 2018 by Chad Sarno and Derek Sarno. Reprinted with permission of Grand Central Life & Style. All rights reserved.
Contact: Nick Small
212-364-1356
nick.small@hbgusa.com