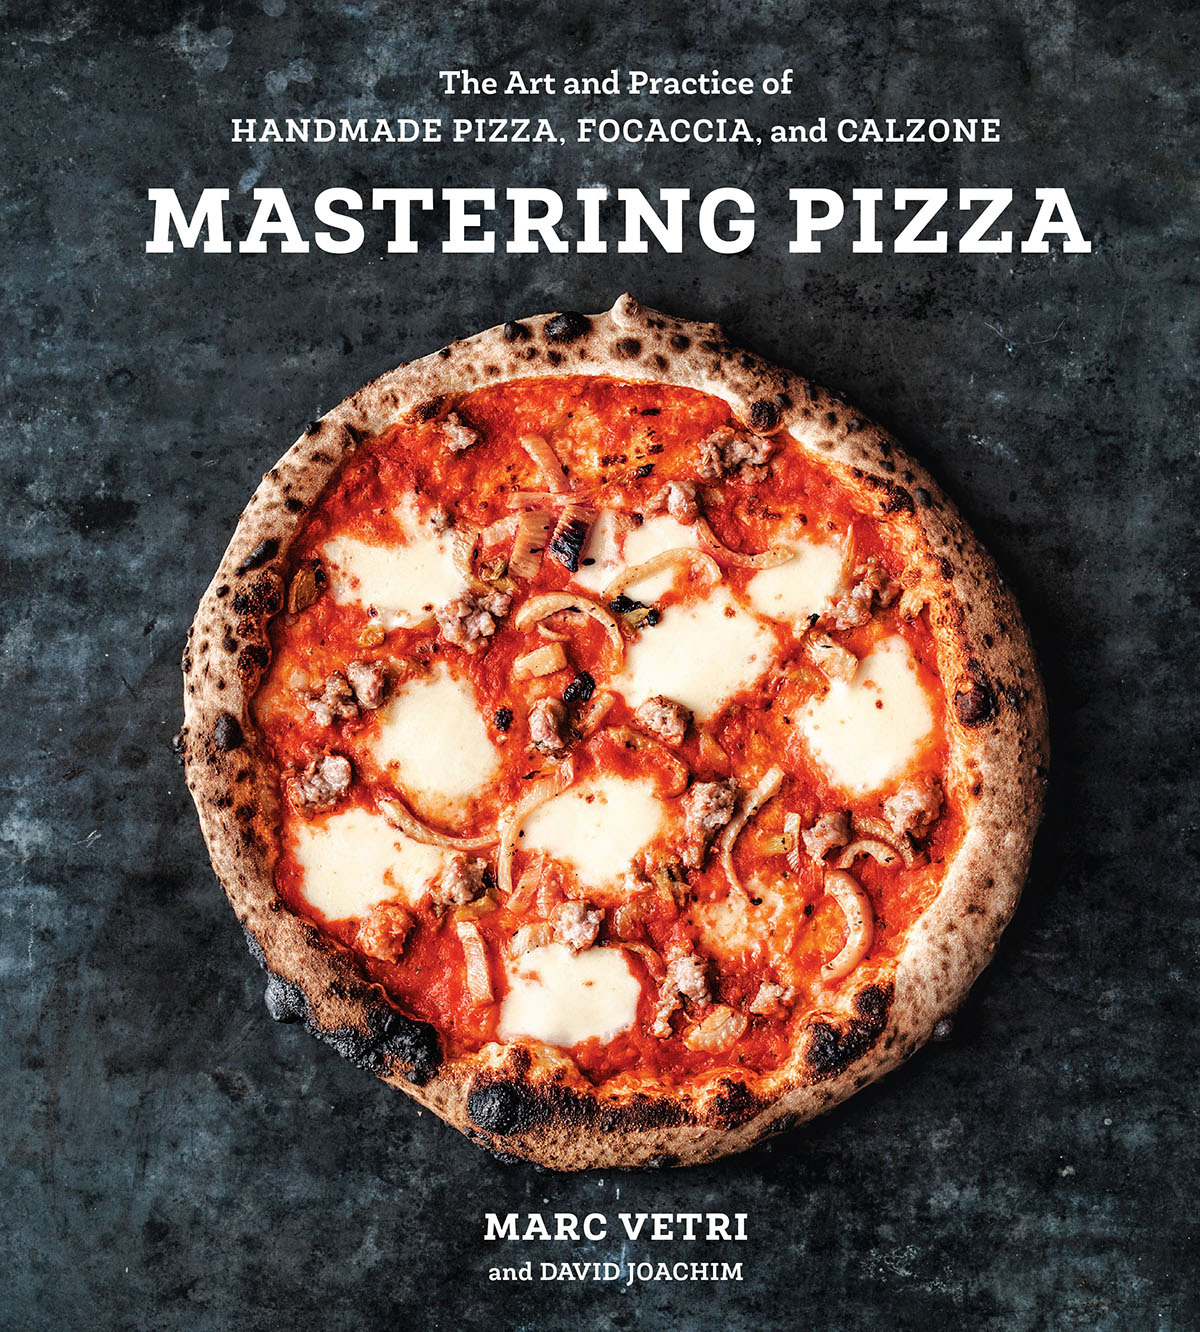
MASTERING PIZZA: The Art and Practice of Handmade Pizza, Focaccia, and Calzone
Marc Vetri, Dave Joachim
Ten Speed Press
August 28, 2018
$29.99/Hardcover
ISBN-13: 978-0399579226
Marc Vetri, Dave Joachim
Ten Speed Press
August 28, 2018
$29.99/Hardcover
ISBN-13: 978-0399579226
 Trained in Bergamo, Italy, by some of the region’s most noted chefs, MARC VETRI is the chef/owner of Pizzeria Vetri, Vetri Ristorante, Osteria, Amis, and Alla Spina, all located in Philadelphia. He has also opened a series of restaurants in partnership with Terrain, with locations in California and Texas. Vetri was named one of Food & Wine‘s Ten Best New Chefs; he also won the James Beard Award for Best Chef Mid-Atlantic. Vetri has been profiled in Gourmet, Bon Appétit, and the New York Times, and is the author of Mastering Pasta, Il Viaggio di Vetri, and Rustic Italian Food. Dave Joachim is the author of the New York Times best seller A Man A Can A Plan and a co-writer on numerous cookbooks.
Pizza remains America’s favorite food, but one that many people hesitate to make at home. In MASTERING PIZZA, award-winning chef Marc Vetri tackles the topic with his trademark precision, making perfect pizza available to anyone. The recipes—gleaned from years spent researching recipes in Italy and perfecting them in America—have a variety of base doughs of different hydration levels, which allow home cooks to achieve the same results with a regular kitchen oven as they would with a professional pizza oven. The book covers popular standards like Margherita and Carbonara while also featuring unexpected toppings such as mussels and truffles—and even a dessert pizza made with Nutella. With transporting imagery from Italy and hardworking step-by-step photos to demystify the process, Mastering Pizza will help you make pizza as delicious as you find in Italy.